Setting Up Promotions on Cloud
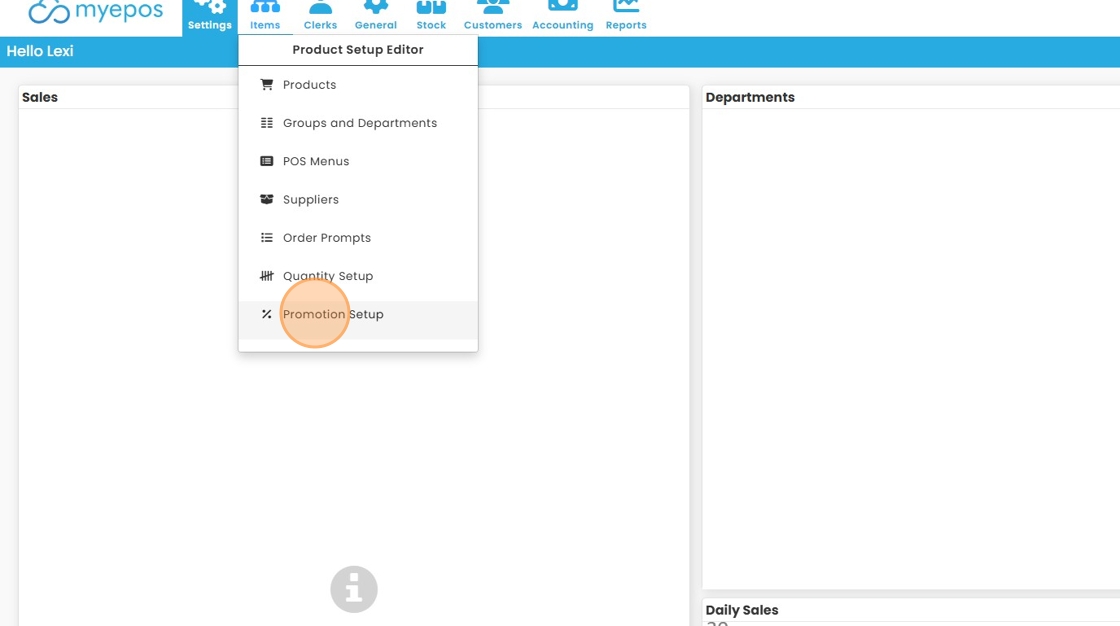
1. Click “Promotion Setup”
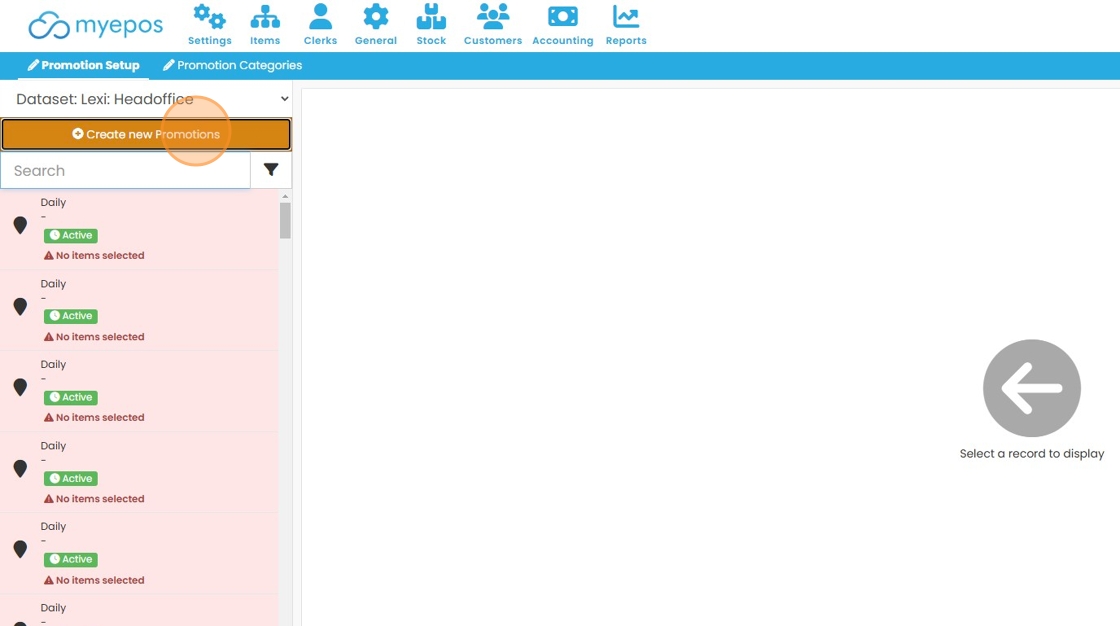
2. Click “Create new Promotions”
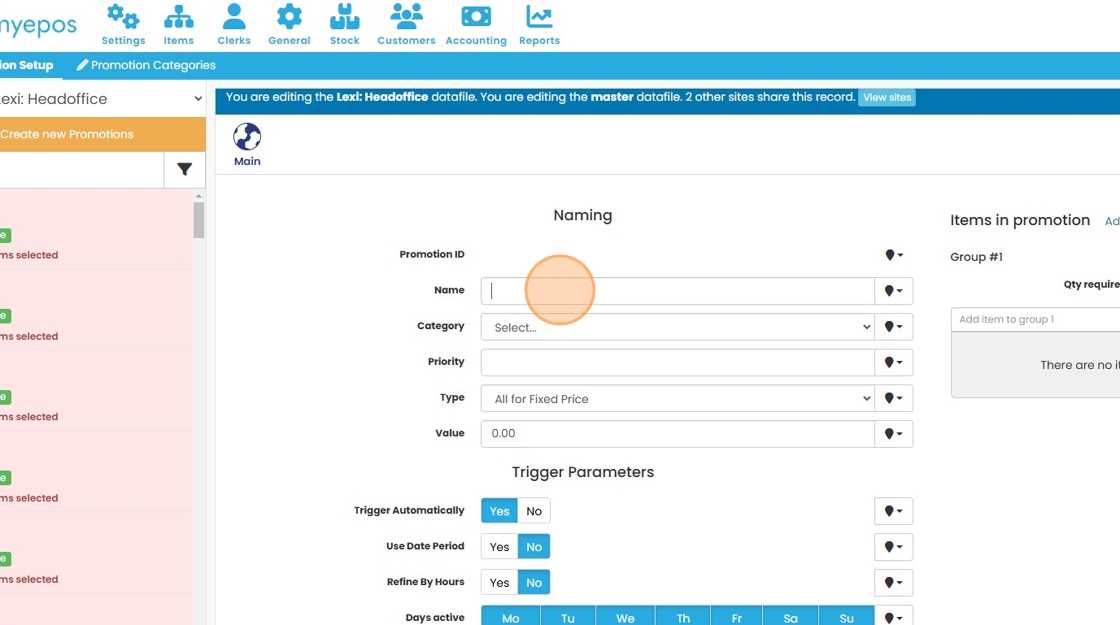
3. Give your promotion a name
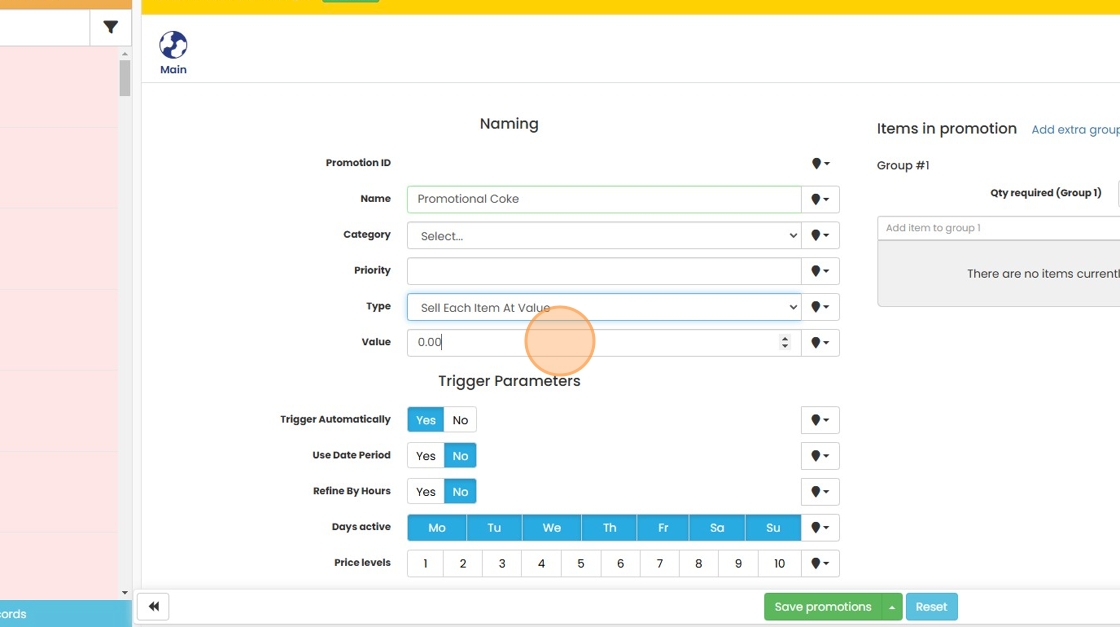
4. Choose your Promotion Type

5. The “Cheapest Item Is Free” option is the perfect way to set up a buy one get one free promotion OR a 3 for 2 promotion.

6. Click the “Value” field, for this promotion the value is 0.00 as the item is free
7. The “All for Fixed Price” option is the perfect way to set up meal deals or set menus.

8. Click the “Value” field for this promotion the value is the price of the set menu or meal deal.

9. The “Discount All With Amount” option discounts all valid items by a fixed amount

10. Click the “Value” field for this promotion the value is the discount you wish to give on all items sold under this promotion.

11. The “Discount All With %” option discounts all valid items by a percentage

12. Click the “Value” field for this promotion the value is the discount percentage you wish to give on all items sold under this promotion.

13. The “Discount Cheapest With %” option is the perfect way to set up a buy one get one 50% off promotion.

14. Click the “Value” field for this promotion the value is the discount percentage you wish to give on the cheapest item sold under this promotion.

15. The “Trigger Item Is Free” option is perfect for offers such as buy 2 main courses and get a free bottle of wine.
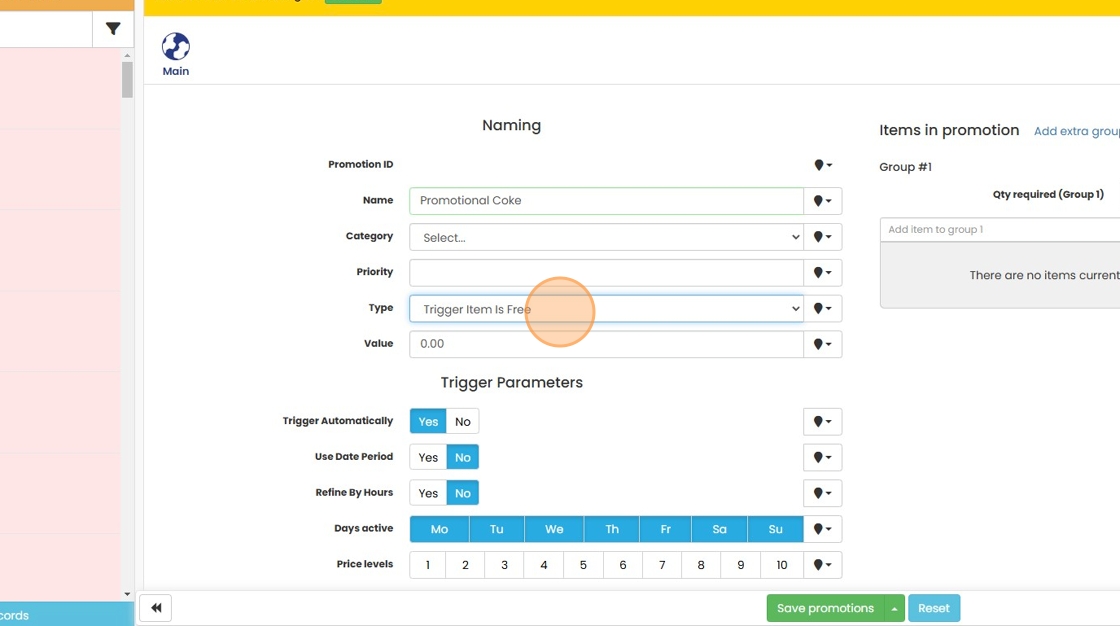
16. Click the “Value” field for this promotion the value is 0.00 as the trigger item is free.

17. The “Free Item With Sale Value” option is perfect for offers such as a free tote bag with purchases over £20

18. Click the “Value” field for this promotion the value is the minimum spend to get the free item

19. The “Sell Each Item At Value” option is perfect for a happy hour set up where cocktails are £5

20. Click the “Value” field for this promotion the value is the sell price for items in this promotion.

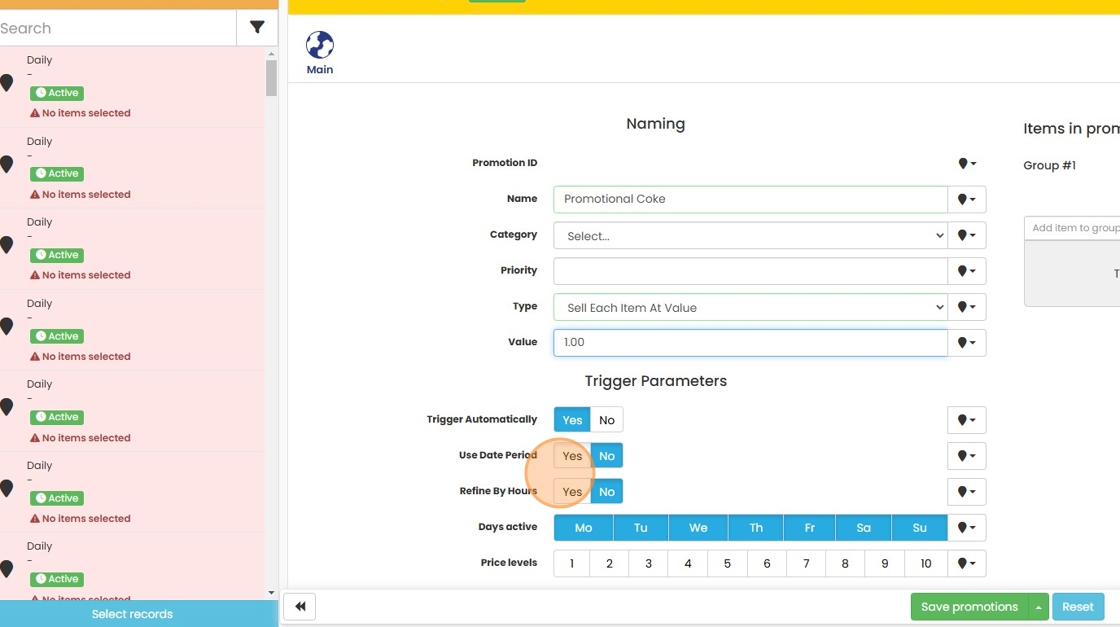
21. Choose whether the promotion is applied automatically.
If set to ‘Yes’ the promotion will run automatically once all conditions are met.
If set to ‘No’ the promotion will only run on a button press so you will need to add the button to your keyboard. Keyboard function is: “Promotion number*PROMOTION”
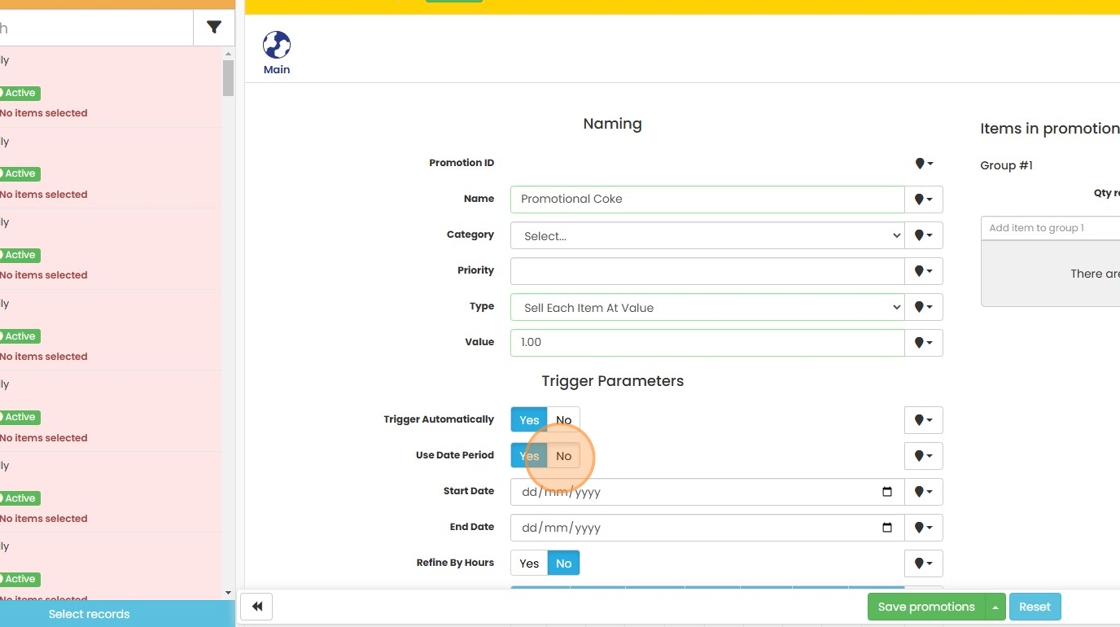
22. Choose whether the promotion is applied for a specific date range.
If set to ‘Yes’ you will be presented with a start & end date field so the promotion will only be valid during that period.
If set to ‘No’ the promotion will run until it is turned off.
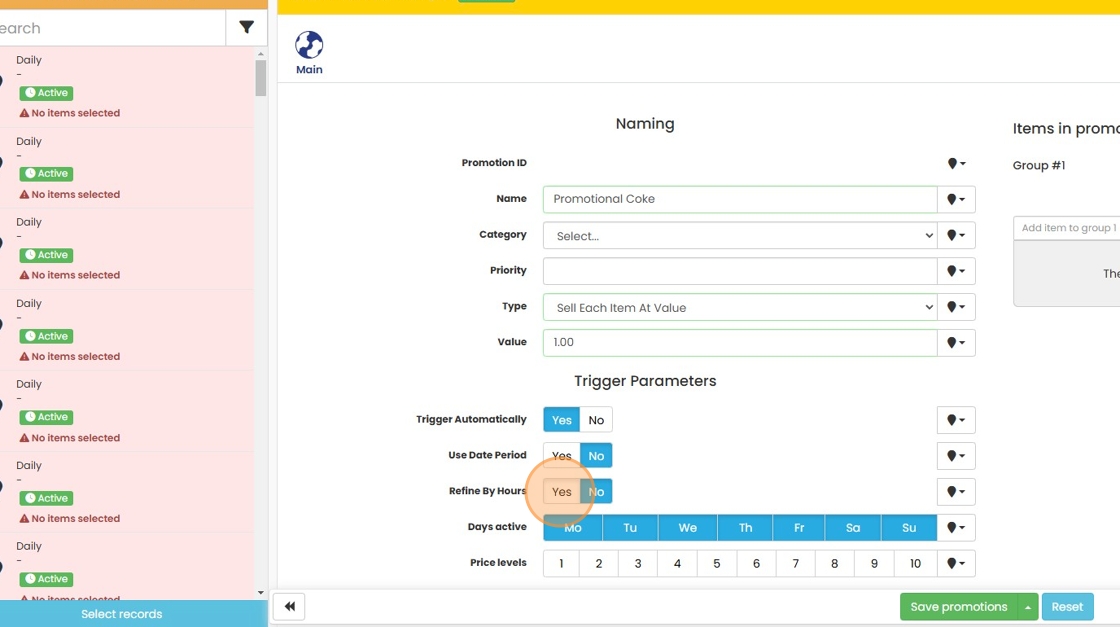
23. Choose whether the promotion is applied during a specific time period.
If set to ‘Yes’ you will be presented with a start & end time field so the promotion will only be valid during that period.
If set to ‘No’ the promotion will run until it is turned off.
24. Choose whether the promotion is applied for specific days only.
Days in Blue are days when the promotion is active; days in white are when it will be inactive.

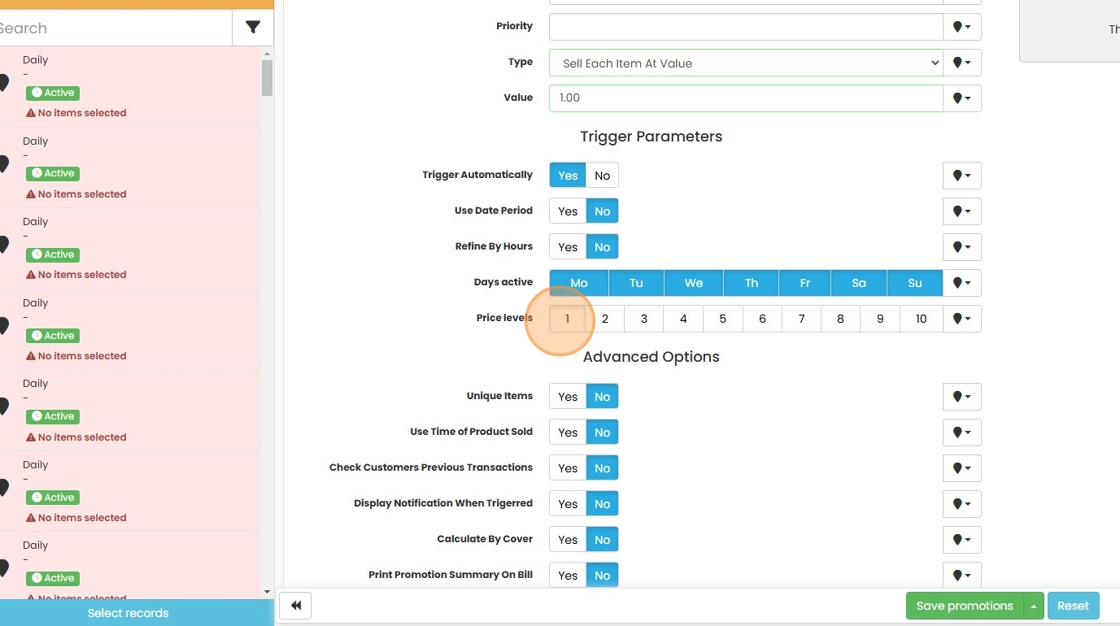
25. Choose which price bands the promotion applies to.
Numbers in Blue are levels when the promotion is active; levels in white are when it will be inactive.
26. Choose whether the items have to be unique for the promotion to trigger.
If set to ‘Yes’ duplicate items will not apply; if set to ‘No’ the promotion will apply with multiples of the same items.

27. Choose whether the promotion should take into account the time the items were sold vs. paid for.
If set to ‘Yes’, it will use the time items were rang into the till; if set to ‘No’, it will use the current time when the sale is completed.

28. Choose whether the promotion should take into account customers’ previous orders.
If set to ‘Yes’, it will check the customer’s account sales history; if set to ‘No’, only the current sale is considered.

29. Choose whether staff should be notified when the promotion is triggered.
If set to ‘Yes’, a message box will pop up on the system; if set to ‘No’, no notification is shown.

30. Choose whether the promotion should be calculated by cover.
If set to ‘Yes’, it will check the covers before applying the promotion; if set to ‘No’, it will process as normal.

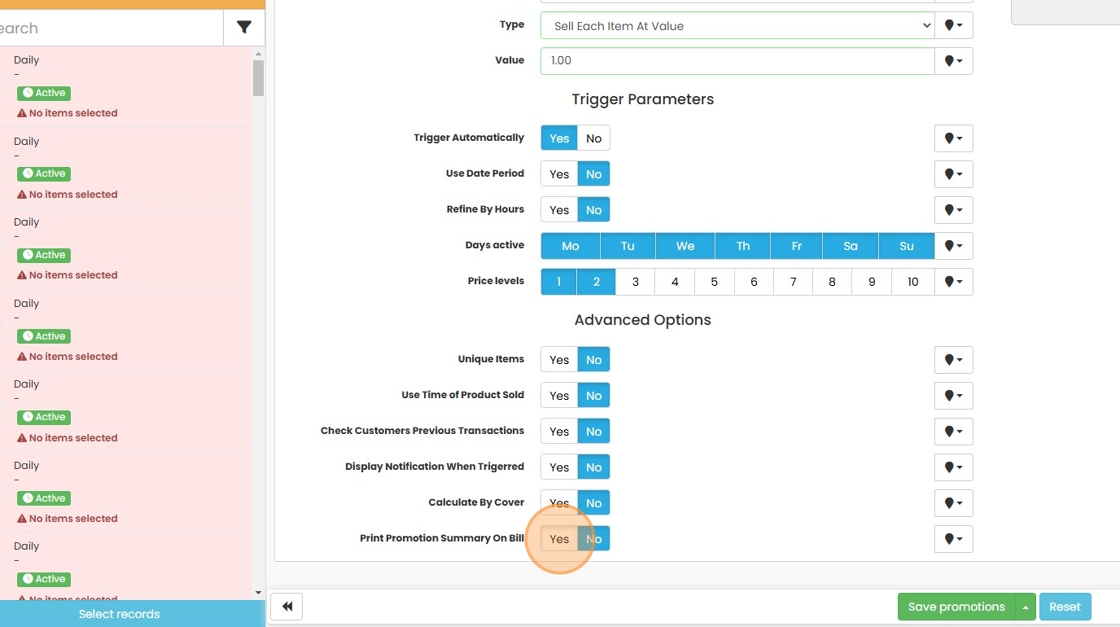
31. Choose whether the promotion should print a promotional breakdown on the bill.
If set to ‘Yes’, a breakdown will be printed on bills/receipts; if set to ‘No’, it will process as normal.
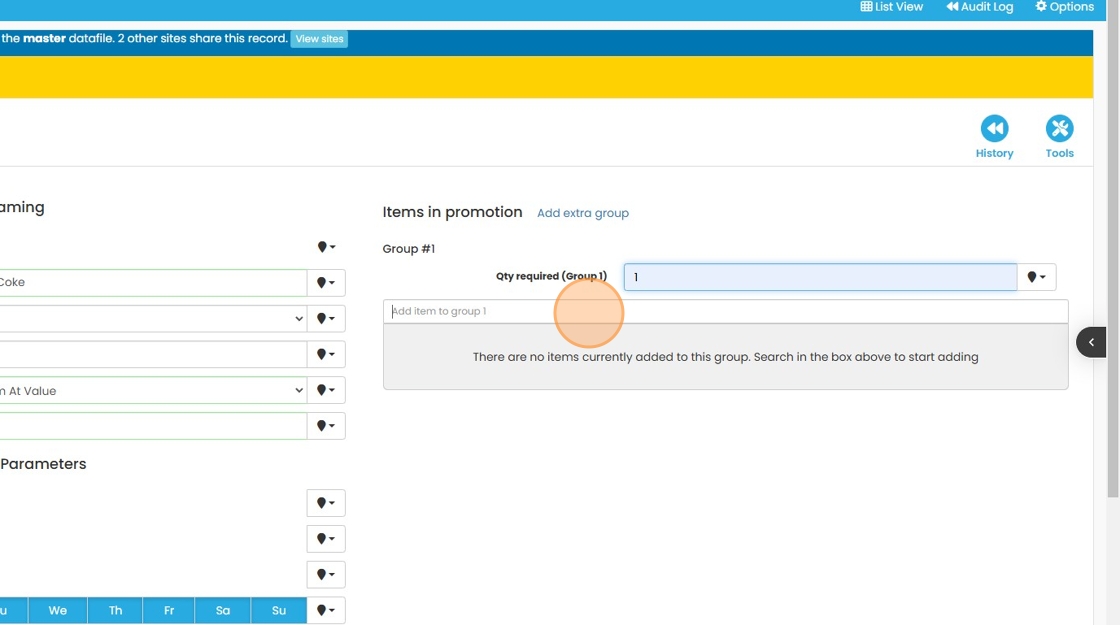
32. Add the qty of items required for the promotion in “Qty required (Group 1)” field.

33. Add the relevant items for the promotion in the “Add item to group 1” field.
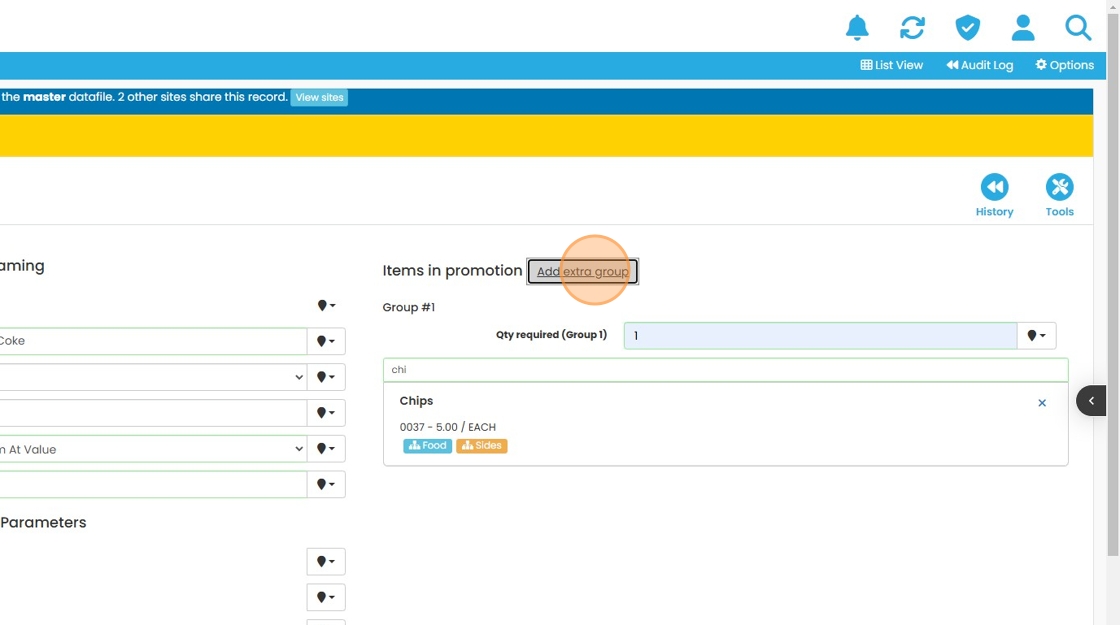
34. If required, click “Add extra group” to get additional baskets for your promotion
35. Add the qty of items required for the promotion in “Qty required (Group 2)” field.
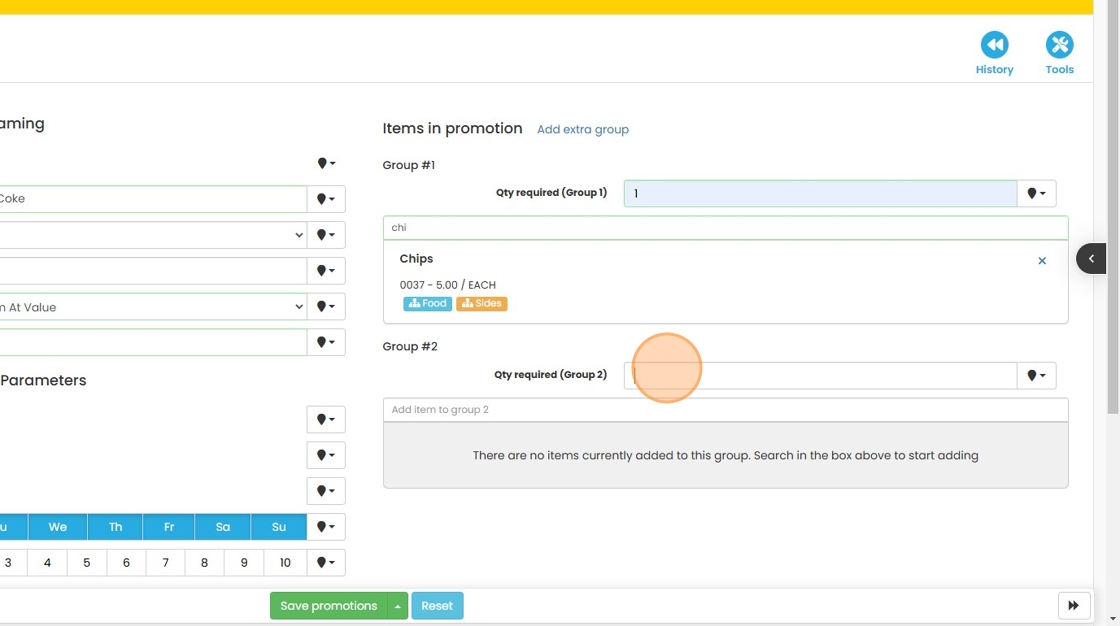
36. Add the relevant items for the promotion in the “Add item to group 2” field.

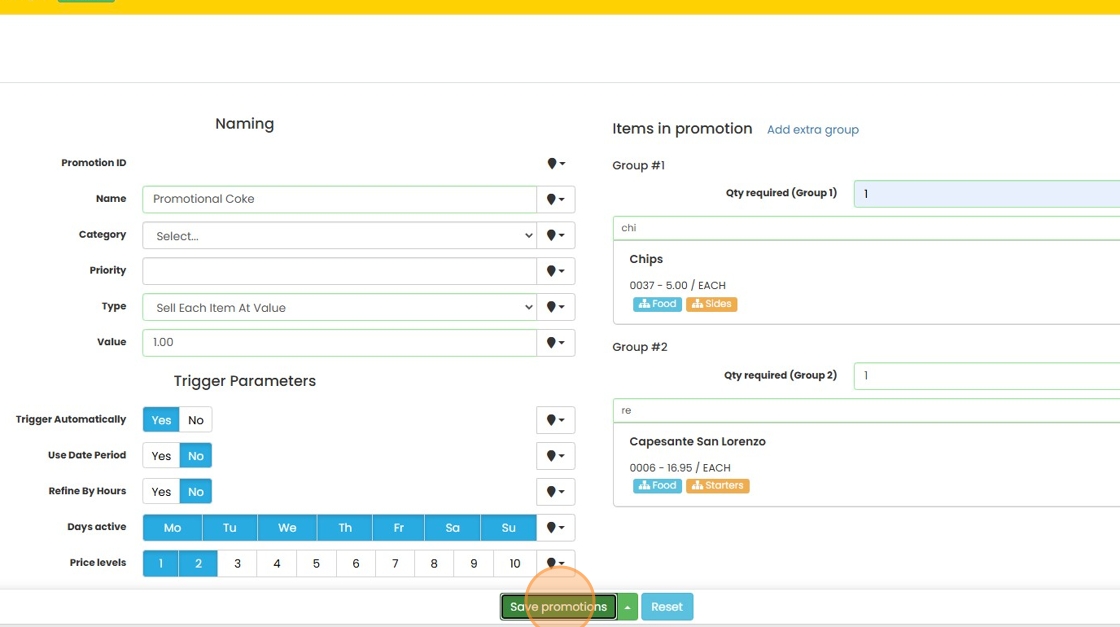
37. Once complete, hit “Save Promotion”
Leave a Reply